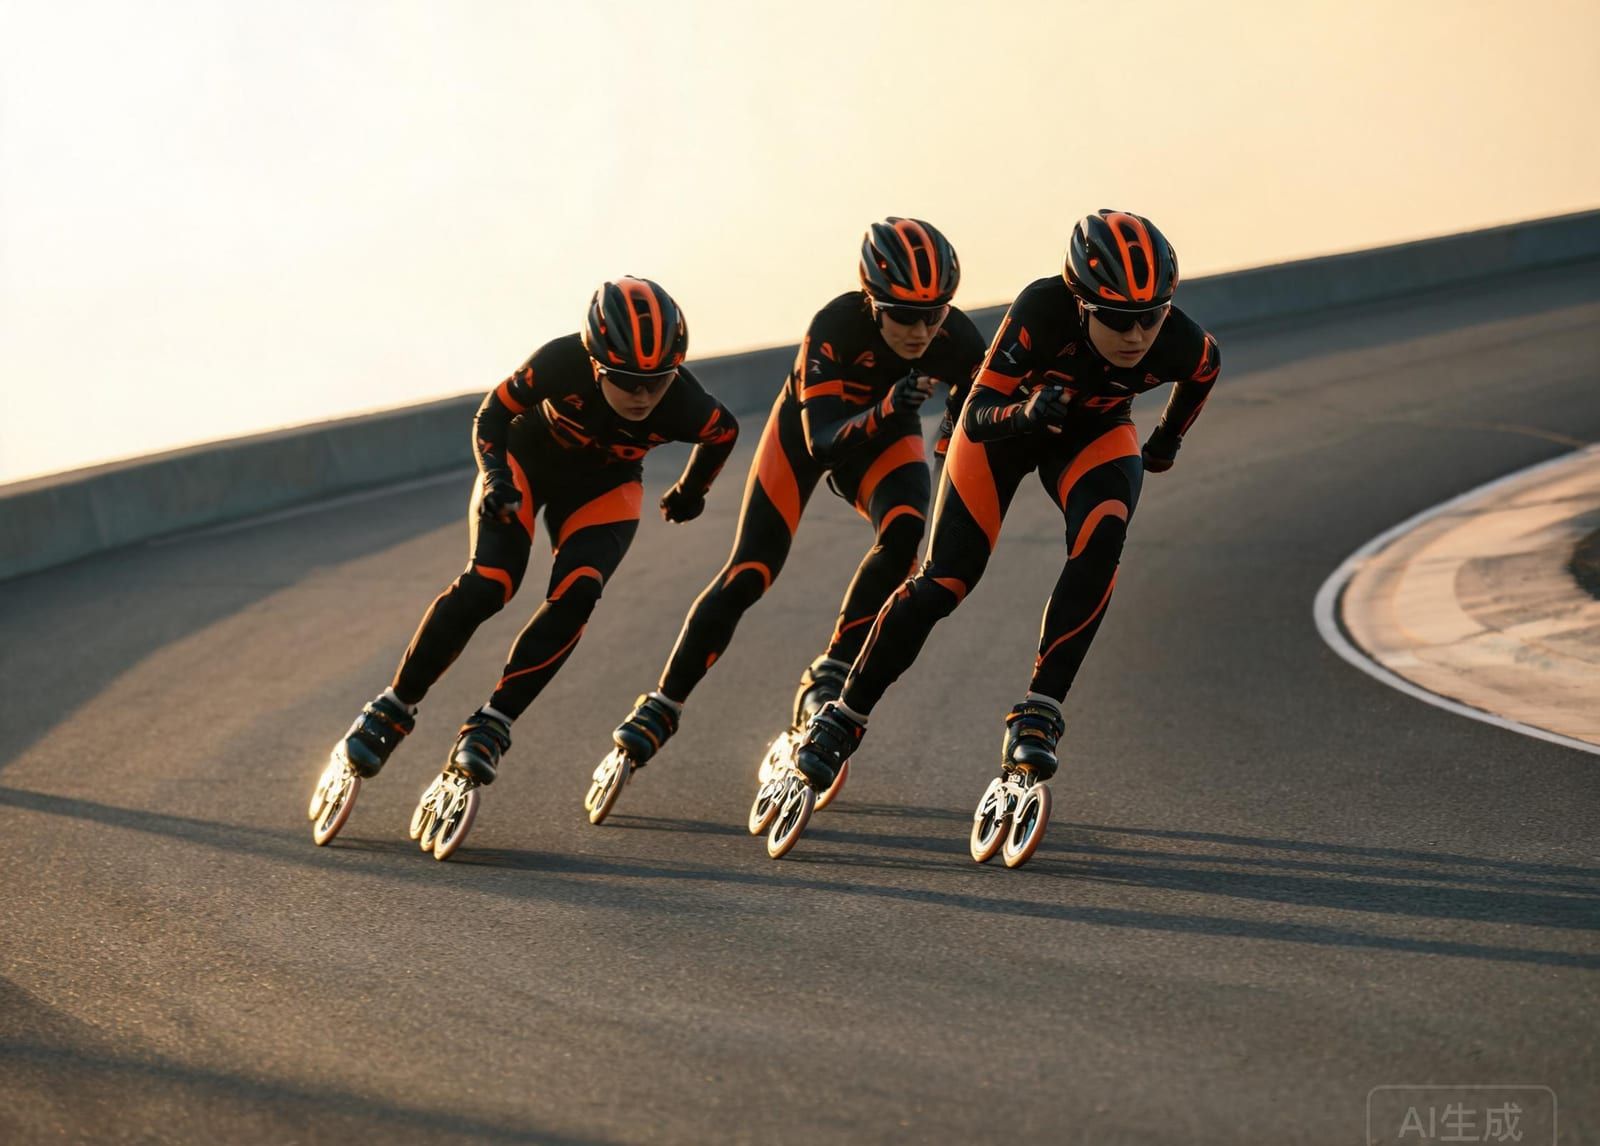
A custom inline suit is not a stock suit with a logo added. The design, the pattern, the fabric and the sizes are all set for one specific group of skaters. This guide explains what happens at each stage, so you know what to prepare and what to check.
Stage 1: Define the project
Before any design work, answer four questions:
- Who is it for: one skater, a competition squad, or the whole club including juniors?
- What is it for: racing, training, or both?
- How many suits, and in which size range?
- When is the first event where the kit must be worn?
Those answers decide the pattern, the fabric and the production schedule. A club that needs kit for a championship in eight weeks is a different project from one planning next season.
Stage 2: Design
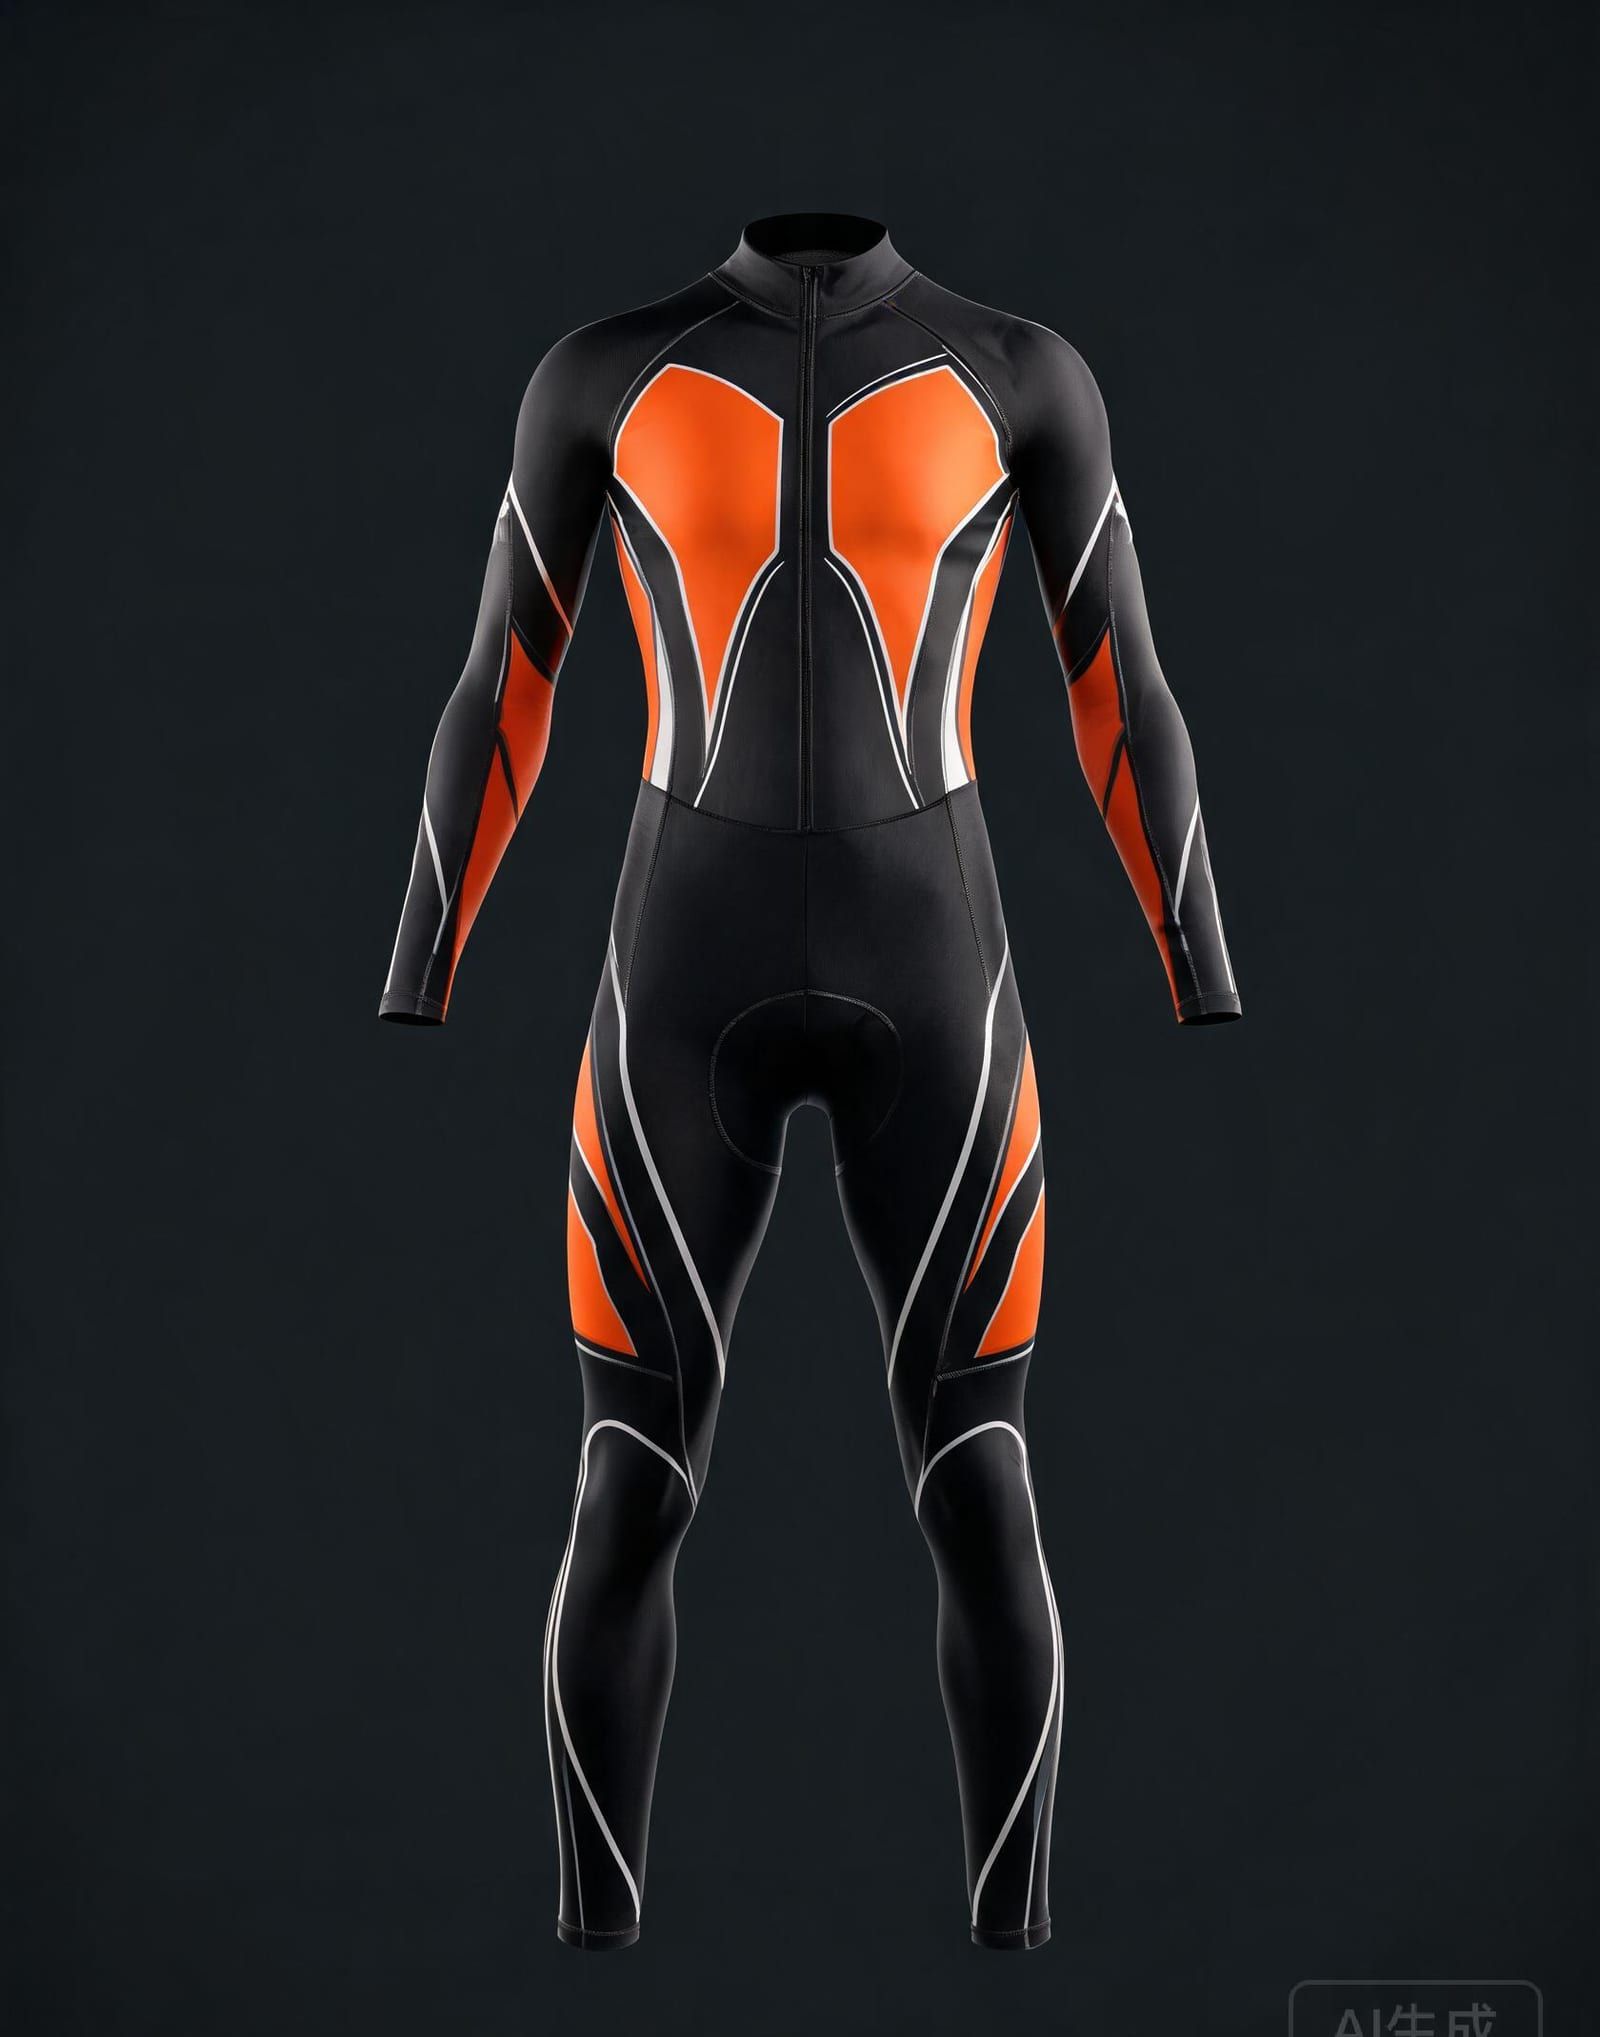
Send colours, crest, sponsor logos and references. The design is developed into front, back and side layouts. At this stage, focus on legibility: large colour blocks read better at speed and in photographs than fine patterns. Sponsor logos should be sized so they are recognisable from a few metres away.
Approve the layout in writing before printing. Changing a design after the fabric is printed means reprinting panels.
Stage 3: Fabric and construction
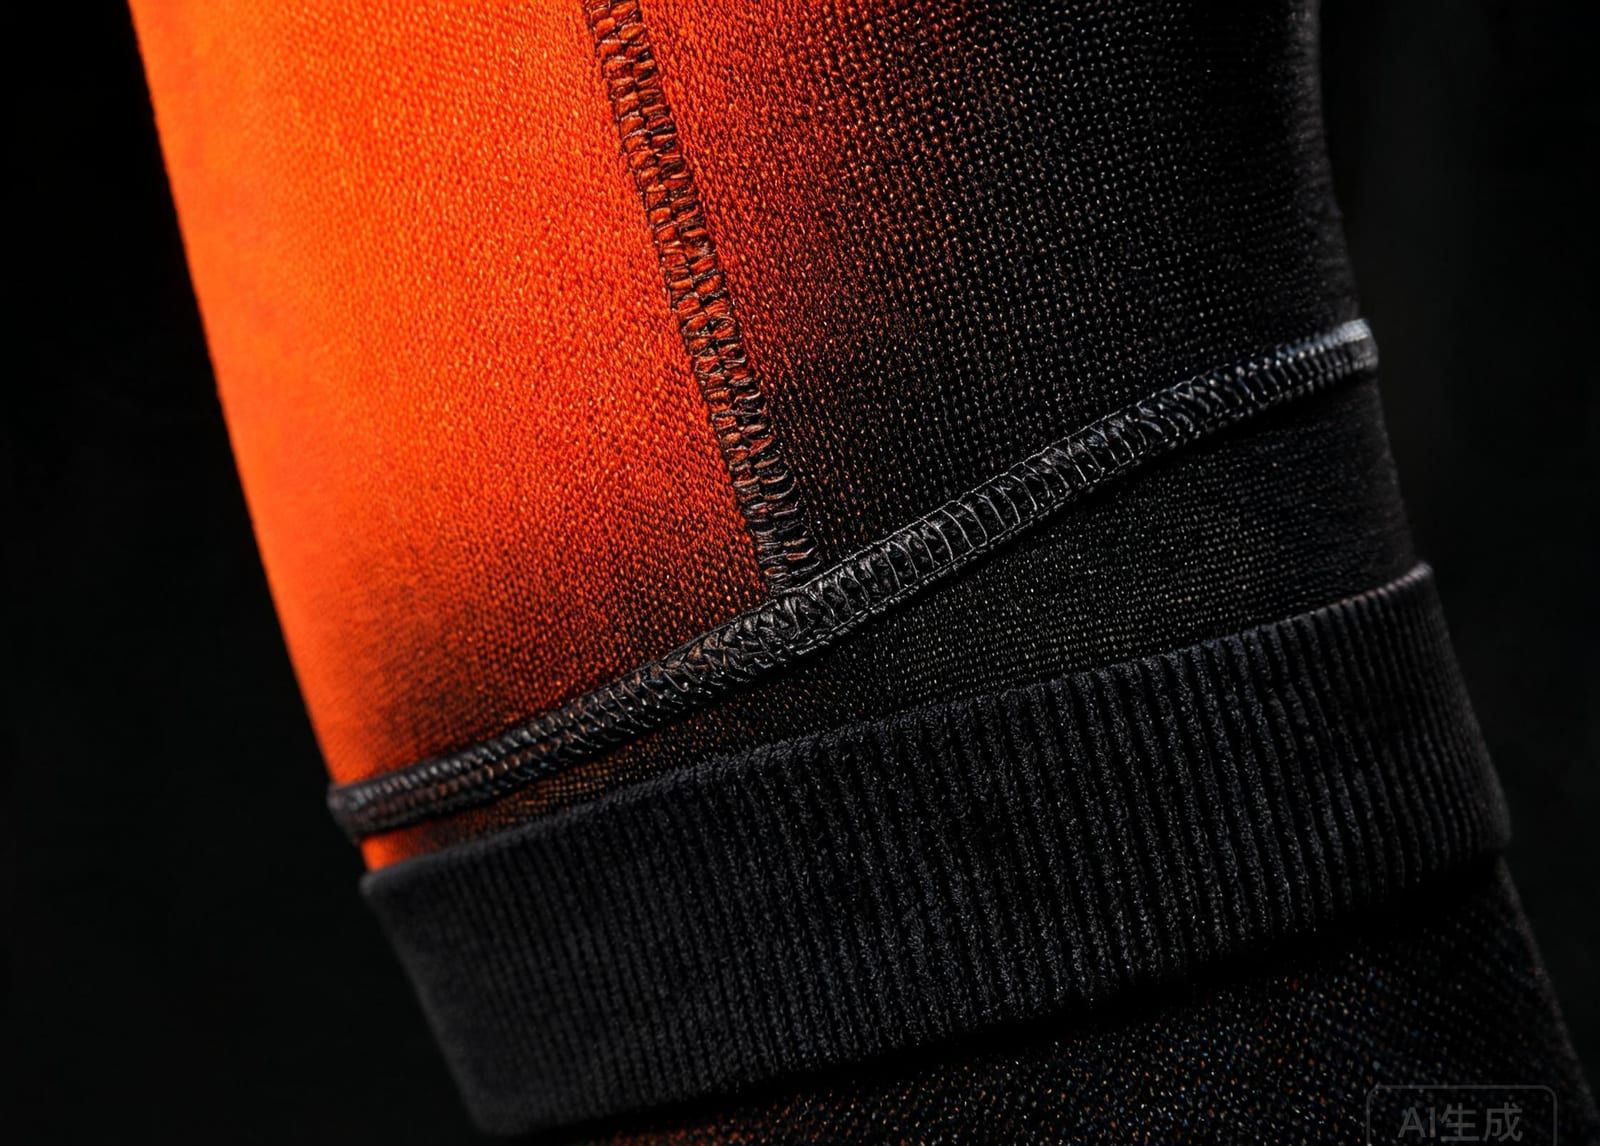
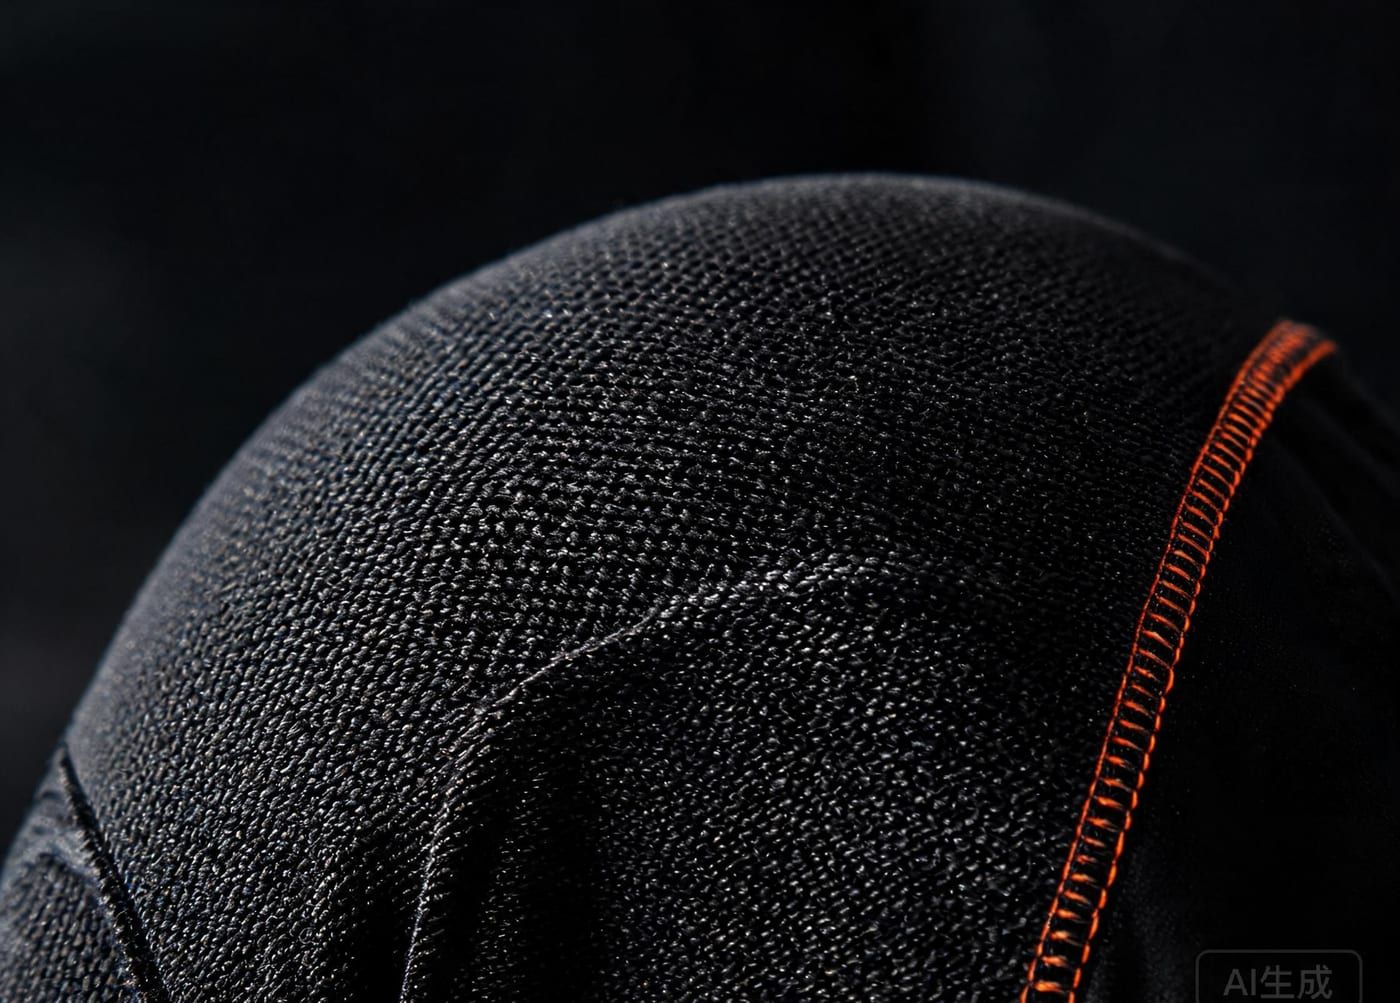
Choose between a race knit and a training knit, and decide on construction details: one-piece or two-piece, sleeve length, collar height, leg gripper, and whether any reinforcement or protective panels are needed.
Ask for swatches if the club has never ordered from the supplier before. A photograph does not tell you how a knit feels or how opaque it is when stretched.
Stage 4: Sizing
Use individual measurements for competition squads. Collect height, chest, waist, hip, inseam and thigh, and note anyone who prefers a looser fit. For juniors, consider whether the suit needs to last one season or two: a too-generous size can be as uncomfortable as a too-tight one.
Stage 5: Sample
A sample is worth it for any order where the pattern, fabric or supplier is new. Check the fit in the skating position, the seam quality, the print sharpness and the logo positions. Record any changes so the bulk production matches the approved sample.
Stage 6: Production
The whole order is printed, cut and sewn as one run so that colours match across sizes. Final inspection checks stitching, measurements, print quality and logo placement before packing.
Stage 7: Repeat orders
Keep the design version and the size list. A good supplier stores them, which makes mid-season additions and next-season repeat orders fast and consistent.
Common mistakes
- Approving a design on a screen without checking it printed.
- Ordering stock sizes for a squad that spans junior to adult.
- Choosing fine graphic detail that disappears at race distance.
- Leaving the order until the week before the first race.
- Not keeping a record of the approved design version.
Products mentioned in this guide
- Custom Inline Team SuitInline Speed Skating
- Inline Racing SuitInline Speed Skating